I used a shoe rack as a puppet stand and organizer.
 This puppet theatre is made from a large box cut to this shape and covered with contact paper.
For an extra touch, chairs for an audience can be added.
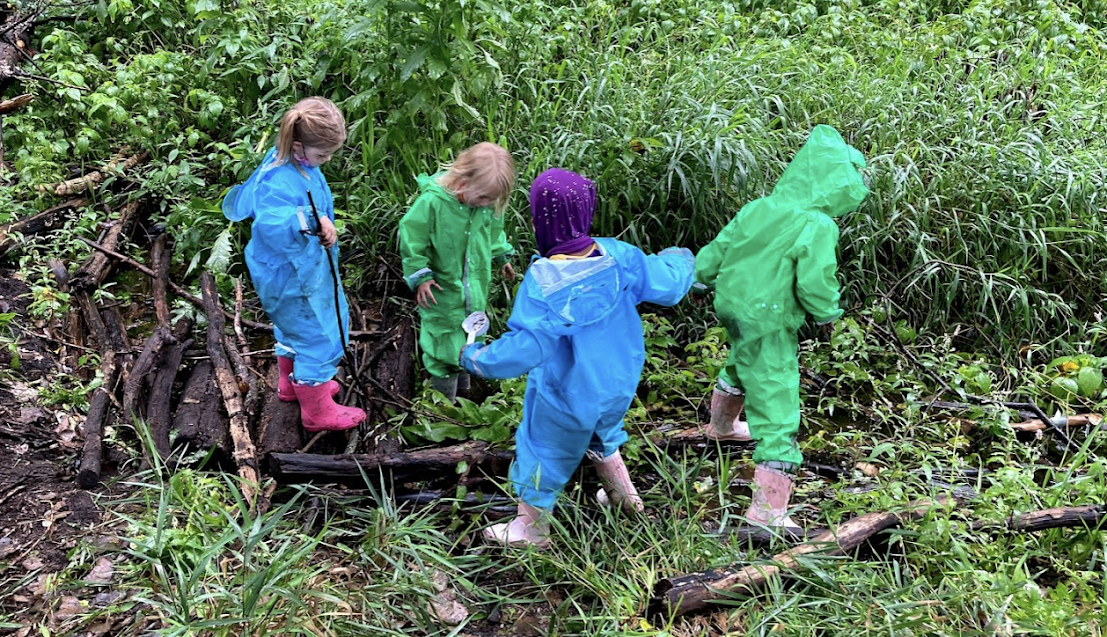
Journeying into outdoor and inquiry education while being intentional about sustainability.
This puppet theatre is made from a large box cut to this shape and covered with contact paper. Children trace and cut gingerbread boys or girls out of sand paper.
 They paint or glue on features, then they rub a cinnamon stick against the sandpaper! They smell great!
 I displayed them on a mini Christmas tree for a fun, good smelling decoration!


 Directions for the tube turkeys can be found under the celebrations section.
 To make the autumn reflection you need white construction paper, paint and brushes.


 Aprons and chef hats help students dress the part.
 I added different kinds of utensils, pots, pans and shakers.
 They dress up in the zero costume and bring in the bag of 0 activities. They wish everyone a happy _0th day and quickly depart. The first grader has an easier time doing this then Kindergarten students who tend to fee shy around their peers. And it is harder to guess the secret identity of the first grader.
 Along with our apple unit we made these apple hand prints. They are arranged on a bulletin board to look like a quilt. I will save them and use them in a memory book to be given out at our closing ceremony.
 All I did was leave the lids on and put some light blue contact paper around the outside. My students really enjoy building towers that are taller than they are! ( I even saw them take out the measuring tape and "measure" their towers). I really enjoy that they make so little noise when the towers fall.
 I made an old lady prop out of a mini garbage can and drawing old lady features on the outside of the can making sure to position the mouth on the opening of the can.
 I then made animal cards with pictures and labels for the old lady to swallow. The students take turns feeding the old lady. They love it! It is easy to modify this for any other "Old Lady" books.
 After a bit of reflection I decided to try a new way of creating the leaves of the coconut tree. I already pre cut the trunks so that wasn't the issue and I want the children to practice cutting with a manageable project.
 So, this is what we now do: Each child receives 2 small green square of paper for the 2 leaves.


 We then create our own cats. I prepare a number of tracers for the body of the cat (shaped like the letter Cc) and the cat's head. The students then trace and cut the 2 pieces using wall paper. (Or any other kind of fancy paper you have available.)
  The students can arrange the body and head cut outs in a variety of poses. This adds an element of choice to this project and gives each child a chance for self expression. The students then glue the pieces onto a background paper as desired. I like to use black because it really emphasizes the pattern on the wall paper. Then a face is added. I like to use this opportunity to talk about details in drawing, like whiskers and eyebrows etc.
 The finished product is delightful and winsome. The children like to see what pose others have chosen.
 Have the children paint their fruit the desired color. I usually write their initials inside the tubes for easy identification.
 The great thing about working with tubes is that they are free!
 The objective of the shoe tieing backpack is to give young learners a bunch of different ways to practice the complicated skill of tieing a shoe. To assemble is backpack you need a variety of tieing and lacing activities such as puzzles or lacing cards and a shoe. There are quite a few books on this subject and it is always nice to include one with the backpack.
 The simplest activity backpacks to create are the reading buddy backpacks. All that is needed is a stuffed animal and books related to that animal. Shown here is a Clifford themed backpack but any stuffed dog and dog related books work.
 The ABC backpack is great to use at the beginning of the year and then as extra practice for those students struggling with their letters. The entire backpack is made up of alphabet letters. These large foam letters are available at craft stores but you can make your own set of cut outs from construction paper or use magnetic letters. The backpack shown here has 1 set of capital letters only but it would be easy to change them out for lowercase letters later on in the year.
 The socks backpack is my favorite. The objective is to practice the skill of matching. This idea also originated with Shari Sloane. http://kidscount1234.com/
 The purpose of this suitcase is to give students practice cutting. You need a lunchbox (I highly recommend checking out your school's lost and found for unclaimed lunch boxes before buying any.), a pair of safety scissors and a cutting sheet,( You can make your own or I use a booklet of practice pages that I received from Fiskars.http://www.fiskars.com) and direction pages.
 The original idea for this suitcase is from Shari Sloane at http://kidscount1234.com/ where you can get the English direction page.
 When the filters dry, prepare another solution with green food coloring. This time fold the coffee filters into fourths and dip each corner into the green solution. Open the filters and allow them to dry. I like to mount them on black paper and have the student add a few gold stars. We also write a way to help the earth and mount that to the paper too.
 Next we create clear view planters by using clear plastic cups and paper towel. We get the paper towels wet and spread them around the inside of the cup. Then each student places a few seeds between the towel and the cup. To help keep the seeds moist we place a sandwich baggie over the cup.
 I usually have the student plant about 4 seeds, halfway down the cup.
 Each student can watch their seed grow roots and sprout! We usually plant ours in soil after most of the seeds have sprouted.